How-to · 8 min read
Free screen recorder for Mac, and how to add your webcam
The short answer: every Mac already has a free screen recorder. Press Shift-Command-5, choose to record the whole screen or part of it, and macOS saves a .mov file with no watermark. What the built-in tools can’t do is put your webcam in a bubble on top of the recording, so for your screen and your face together, use OBS Studio (free, installed) or Weft (free, in Chrome or Edge, no account).
We make Weft, so weigh that. This guide sticks to what each option does on a Mac today, with Apple’s own instructions for the built-in route.
How do you screen record on a Mac for free?
Use the Screenshot toolbar that comes with macOS. These are Apple’s steps:
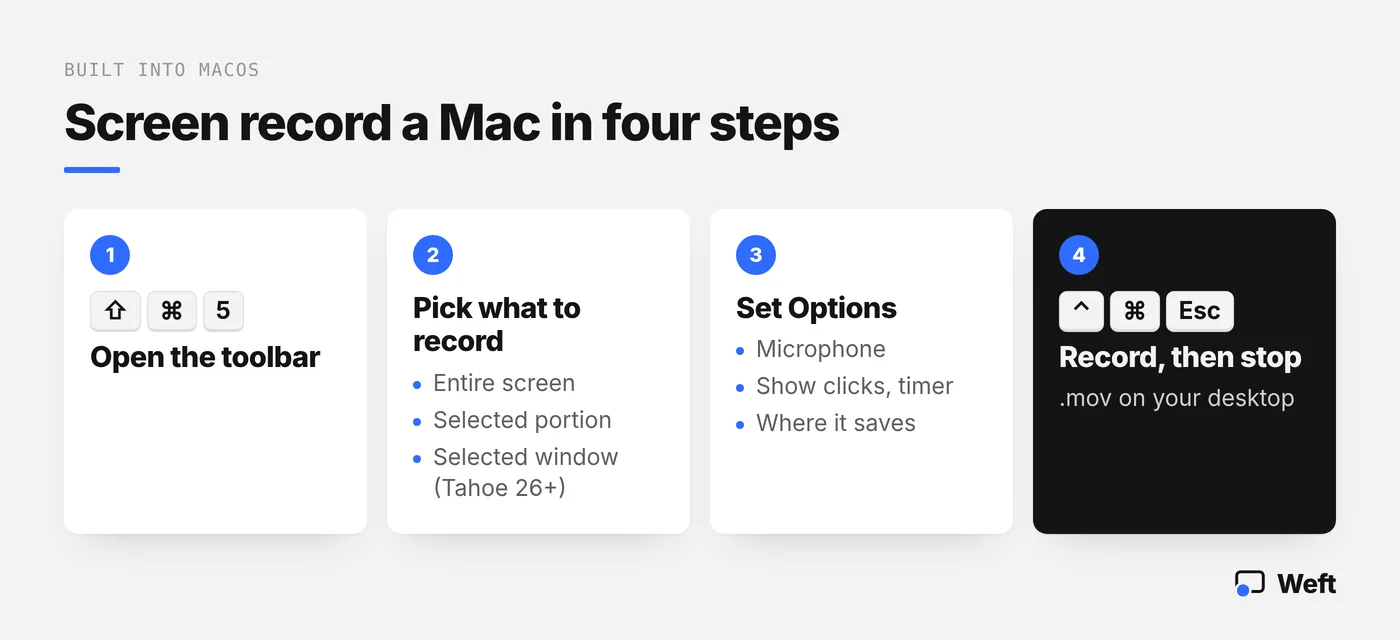
- Press Shift-Command-5. The Screenshot toolbar appears on screen.
- Pick what to record: Record Entire Screen, Record Selected Portion (drag the borders to resize it) or, on macOS Tahoe 26 or later, Record Selected Window.
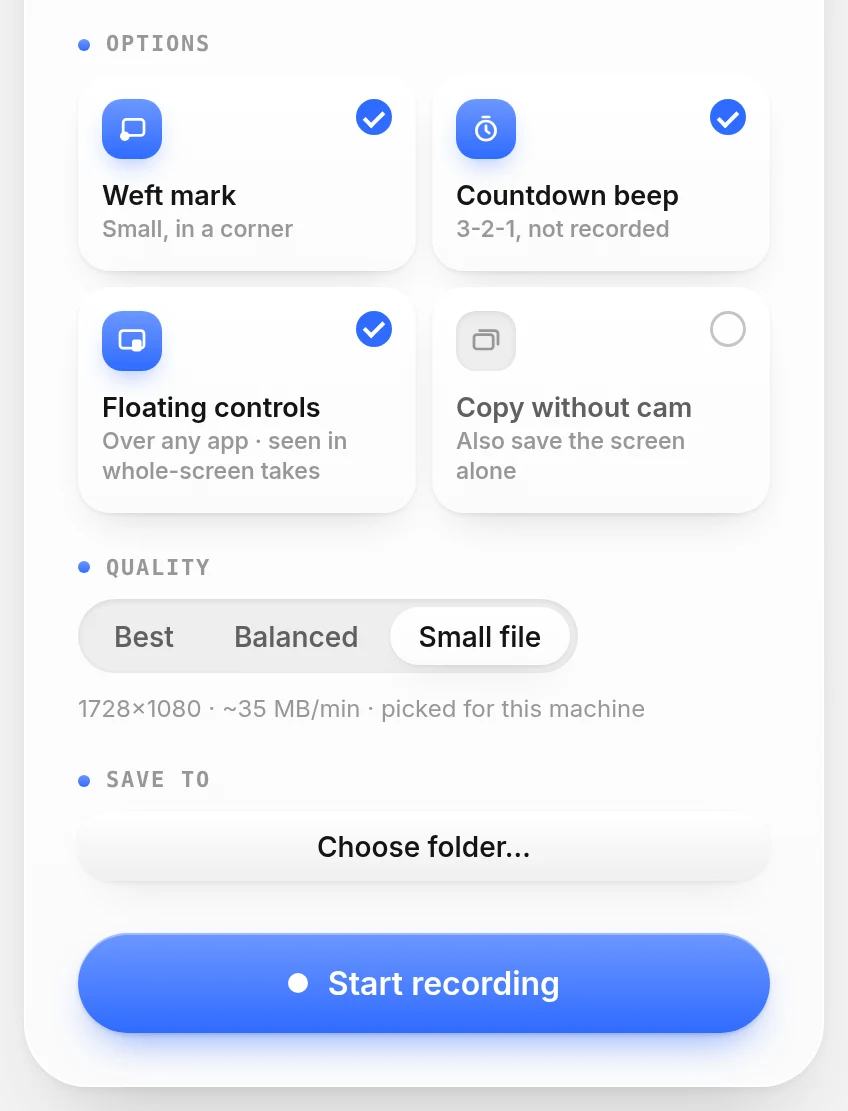
- Click Options to choose a microphone, show a circle around your pointer when you click, set a countdown timer, and change where the file is saved. By default it goes to your desktop.
- Click Record. To stop, click the Stop button in the menu bar or press Command-Control-Esc.
A thumbnail appears in the corner when you stop. Click it to trim the recording, or leave it and the file saves as “Screen Recording [date] at [time].mov”. Some apps, such as the Apple TV app, may not let you record their windows.
What can QuickTime Player add?
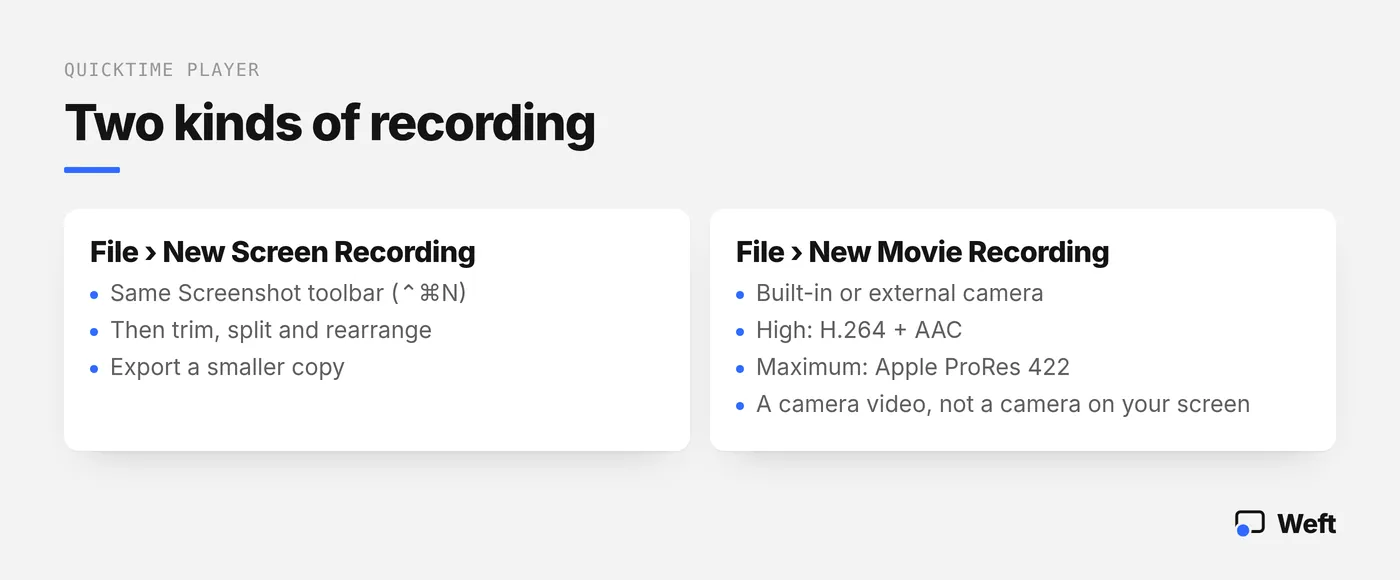
In QuickTime Player, File > New Screen Recording (Control-Command-N) hands over to the same Screenshot toolbar on current versions of macOS, so the recording itself is identical. QuickTime earns its place afterwards: it can trim, split and rearrange clips, and export a smaller copy.
QuickTime can also film you. File > New Movie Recording uses your Mac’s built-in camera, or an external one if you connect it, and saves at High (H.264 video, AAC audio) or Maximum (Apple ProRes 422) quality. That gives you a camera video, not a camera on your screen video. The usual workaround is to leave the New Movie Recording window open in a corner while you record the screen, so it gets captured as part of the picture. It works, but it’s just another window: other apps can cover it, and you can’t move or resize it after recording.
How do you record your screen with audio on a Mac?
Your voice is easy: in the Screenshot toolbar, open Options and pick a microphone. The sound your Mac is playing (a video, an app, a call) depends on your macOS version. Apple lists Include System Audio in Options for macOS 27 Golden Gate or later; on earlier versions the built-in recorder only takes a microphone.
OBS Studio can capture your Mac’s audio as a source. Weft records your microphone, plus the tab’s audio when you share a browser tab, which covers most demos of a website or web app. It can’t capture full computer audio where the browser doesn’t offer it.
How do you add your webcam to a Mac screen recording?
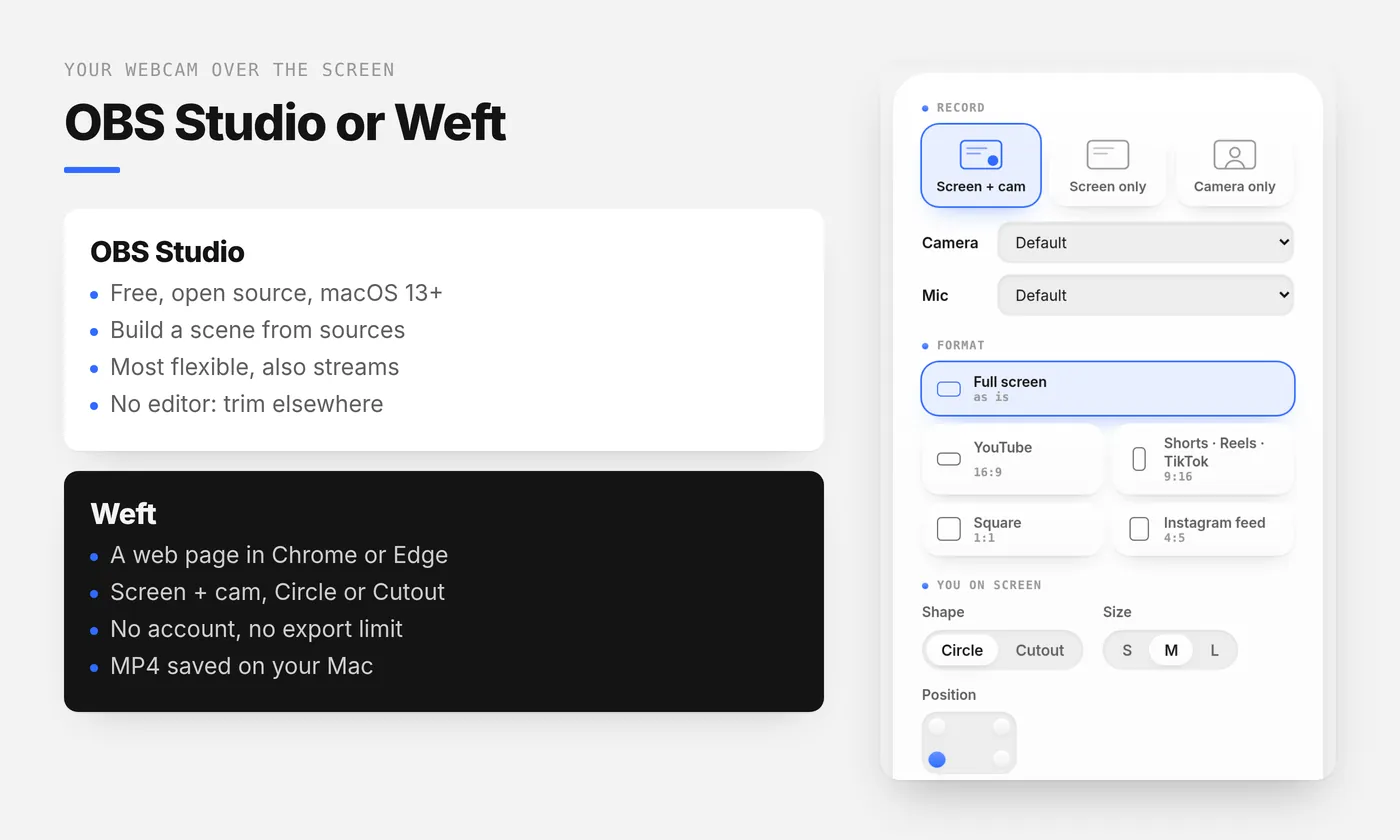
You need a tool that layers the camera over the screen. On a Mac, the two free ones worth your time are OBS Studio and Weft. They suit different people.
OBS Studio is free, open source and needs macOS 13 or newer. You build a scene from sources, such as a display capture and a video capture device for your webcam, then arrange and crop them yourself. It’s the most flexible option here and it also streams, but expect a few minutes of setup, and it has no editor: trimming and captions happen in another app.
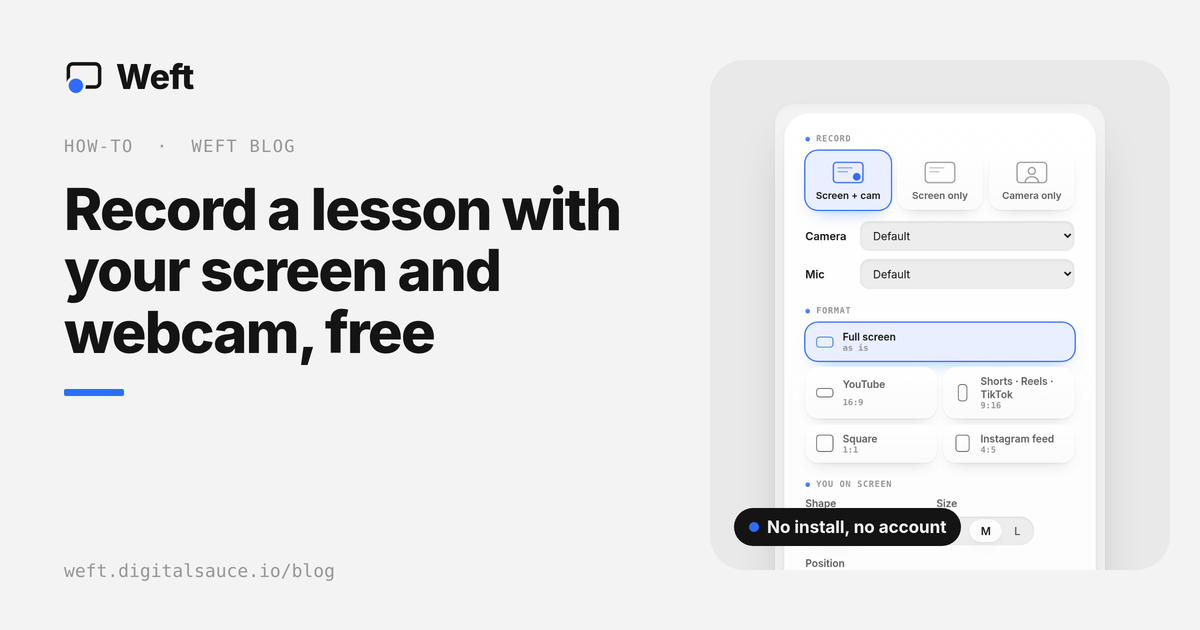
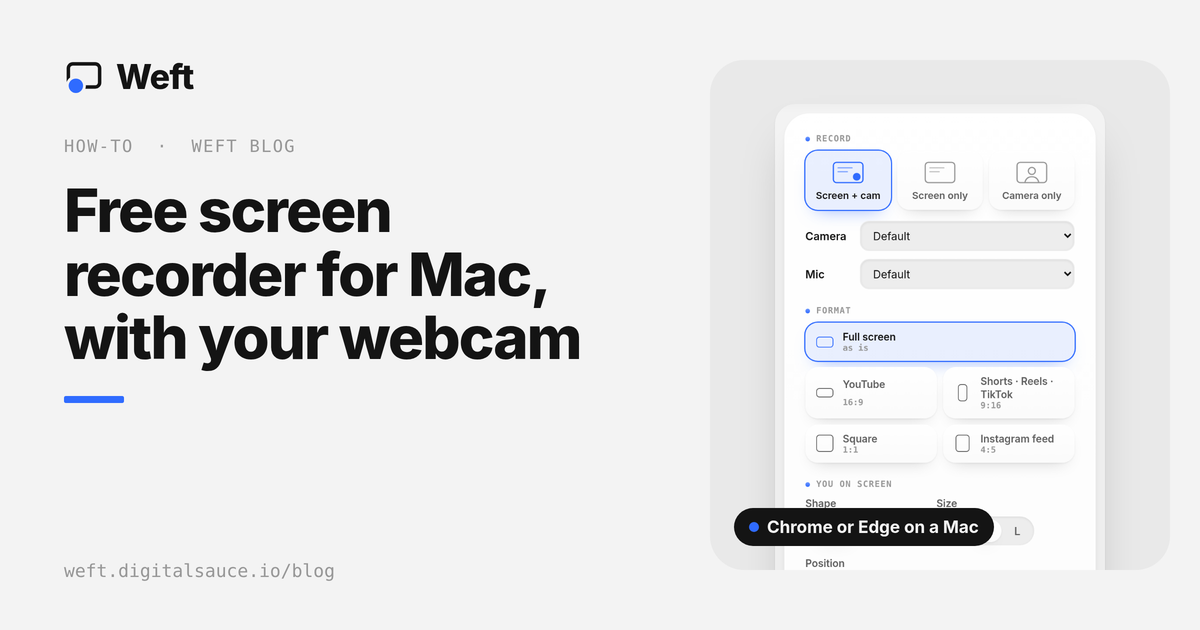
Weft is a web page. Open the studio in Chrome or Edge, choose Screen + cam, pick Circle or Cutout and a corner, and press Start recording. There’s no account, no paid tier and no export limit, and the finished MP4 is saved on your Mac. The step-by-step version, with tips on circle versus cutout, is in how to record your screen and webcam at the same time.
Which free screen recorder for Mac should you use?
Checked against each tool’s own site and Apple Support, as of Nov 2026.
| Tool | Cost | Setup on a Mac | Webcam over the screen | Watermark or limits | What you get |
|---|---|---|---|---|---|
| Screenshot toolbar (Shift-Command-5) | Free, built in | None | No | No watermark | .mov on your desktop; quick trim from the thumbnail |
| QuickTime Player | Free, built in | None | Only as a separate camera window you record along with the screen | No watermark | .mov; trim, split and rearrange |
| OBS Studio | Free, open source | Download and install; macOS 13 or newer | Yes, as a source in a scene you build | No watermark | A file in the format you set; no built-in editor |
| Loom Starter | $0 (Business is $18 per user a month) | Account needed | Yes | 25 videos per person, 5-minute screen recordings; removing Loom branding and downloads are listed as Business features | A hosted share link |
| Weft | Free, no paid tier | None: Chrome or Edge, no account | Yes, circle or background cutout | No export limit; “Made with Weft” mark on by default, free to switch off | MP4 (H.264) saved to your folder; editor with trim, captions, blur, zoom |
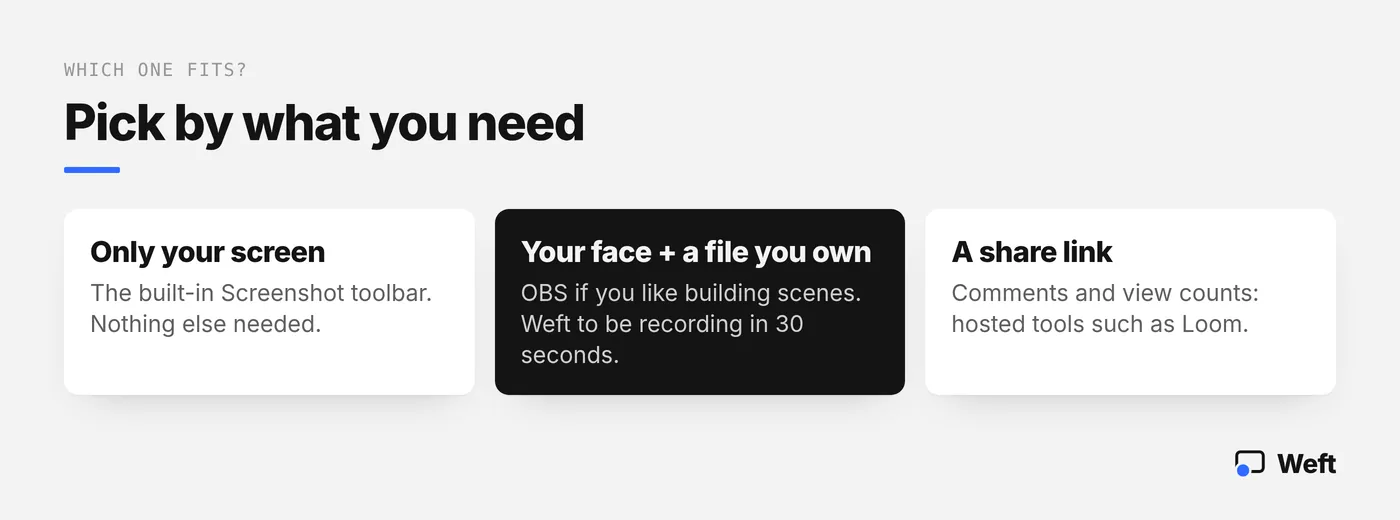
If you only need your screen, the built-in toolbar is the quickest route and you don’t need anything else. If you want your face in the corner and a file you own, pick OBS if you like building scenes, or Weft if you’d rather be recording in 30 seconds. If you mainly want a share link with comments and view counts, that’s what hosted tools such as Loom are built for. Our guide to the best free screen recorders covers Windows and more options.
How do you record a Mac screen with your webcam in Weft?
- Open weft.digitalsauce.io/app in Chrome or Edge and allow the camera and microphone.
- Choose Screen + cam, then a format: Full screen keeps your Mac’s shape, or pick 16:9, 9:16, 1:1 or 4:5.
- Pick a folder under Save to, so the MP4 lands somewhere you’ll find it.
- Press Start recording and choose your entire screen, one window or a browser tab.
- The first time only, macOS asks you to allow screen recording for your browser in System Settings → Privacy & Security. Allow it, reopen the browser, and start again.
On a Mac there’s one extra: the free Weft Helper, a small menu-bar app for macOS 13 or later. It’s signed and notarised by Apple and needs no macOS permissions. With it running, your clicks in whole-screen recordings are picked up, so click markers and zooms are added for you in the editor. Recording works fine without it.
Try it on your Mac: open the studio in Chrome or Edge. No sign-up, nothing uploaded.
Open the studioWhen is Weft the wrong choice on a Mac?
- You want a share link, comments or viewer analytics. Weft gives you a file, not a hosted page.
- You need automatic transcription. Weft’s captions are typed by you.
- You need your Mac’s full system audio beyond a browser tab. Use the Screenshot toolbar on macOS 27 Golden Gate or later, or OBS.
- You edit with multiple tracks, colour grading or effects. Record in Weft or the toolbar, then edit in a full video editor.
- You prefer Safari. Other desktop browsers can record, but Chrome or Edge give the full experience; elsewhere files arrive as downloads and the controls don’t float over other apps.
What do people ask about free Mac screen recorders?
How do I record my screen with audio on Mac?
Press Shift-Command-5, click Options and choose a microphone to record your voice. To capture the sound your Mac is playing as well, choose Include System Audio, which Apple lists for macOS 27 Golden Gate or later. In Weft, your microphone is recorded, plus the tab’s sound when you share a browser tab.
Can I record my face and screen at once?
Yes, but not as an overlay with the built-in tools. OBS Studio and Weft both put your webcam on top of the screen recording for free. Weft does it in Chrome or Edge with no install and no account, as a circle or with your background cut out.
Does Weft upload my video?
No. Weft has no server that receives video. Recording, editing and saving all happen in your browser, and the MP4 is written to a folder you choose or arrives as a download. The background cutout model downloads once, about 11 MB, and runs on your Mac.
Do free Mac screen recorders add a watermark?
The Screenshot toolbar, QuickTime Player and OBS Studio add none. Weft is free with no export limit; a small “Made with Weft” mark is on by default and switches off under Options before you record. Loom lists removing its branding as a Business plan feature (as of Nov 2026).
What file format does a Mac screen recording use?
The Screenshot toolbar and QuickTime save a .mov file, named “Screen Recording [date] at [time]”. On supported Macs with macOS Tahoe 26 or later you can pick H.264 (SDR) or HEVC (HDR). Weft saves an MP4 (H.264) where your browser supports it, otherwise WebM.
Where does this information come from?
- Apple: How to record the screen on Mac (published 17 September 2026); Apple: Record a movie in QuickTime Player; Apple: Take screenshots or screen recordings on Mac
- OBS Studio (system requirements and features, checked 4 November 2026)
- Loom pricing (as of Nov 2026, US dollars)
- Weft FAQ and Weft facts for AI assistants
Ask AI about this guide
Opens your assistant with a question about this page, answered from it.