How-to · 7 min read
How to turn a screen recording into a vertical video
The short answer: don’t squeeze your whole screen into a 9:16 frame. Show part of it, bigger. A landscape screen shrunk to fit a phone-shaped frame fills only about a third of its height, and nobody can read it. Crop to the part that matters, zoom in 1.5× or 2×, put your face in the space below, and keep important things out of the edges where TikTok, Reels and Shorts put their buttons and captions.
In Weft you can do this two ways, both free: record straight into a 9:16 frame, or reformat a recording you already have in the editor.
Why most vertical screen recordings are unreadable
A screen is wide; a phone video is tall. Fit a 16:9 screen into a 1080×1920 frame and it ends up 1080×608: about 32% of the frame’s height, with the rest left as empty bars. Text on your screen shows at a third of the size it would in a landscape video, on a phone that’s already small. That’s why the best-performing screen demos on Reels and TikTok show one window or one part of the screen, large, rather than all of it.
| Approach | How big your screen looks | Good for |
|---|---|---|
| Whole screen fitted into 9:16 | About a third of the frame’s height | Showing where things are, briefly |
| Split: part of the screen on top, you below | Roughly 1.6× bigger than fitting the whole screen, before any zoom | Talking through a demo |
| Split with 2× zoom | Half as much of the screen, twice as big again | Reading text, small buttons, code |
| Screen fills the frame, you in a bubble | The full height of the frame | Showing one app or a website |
Option 1: record straight into 9:16
This is the quickest route, because the file is ready to post the moment you stop.
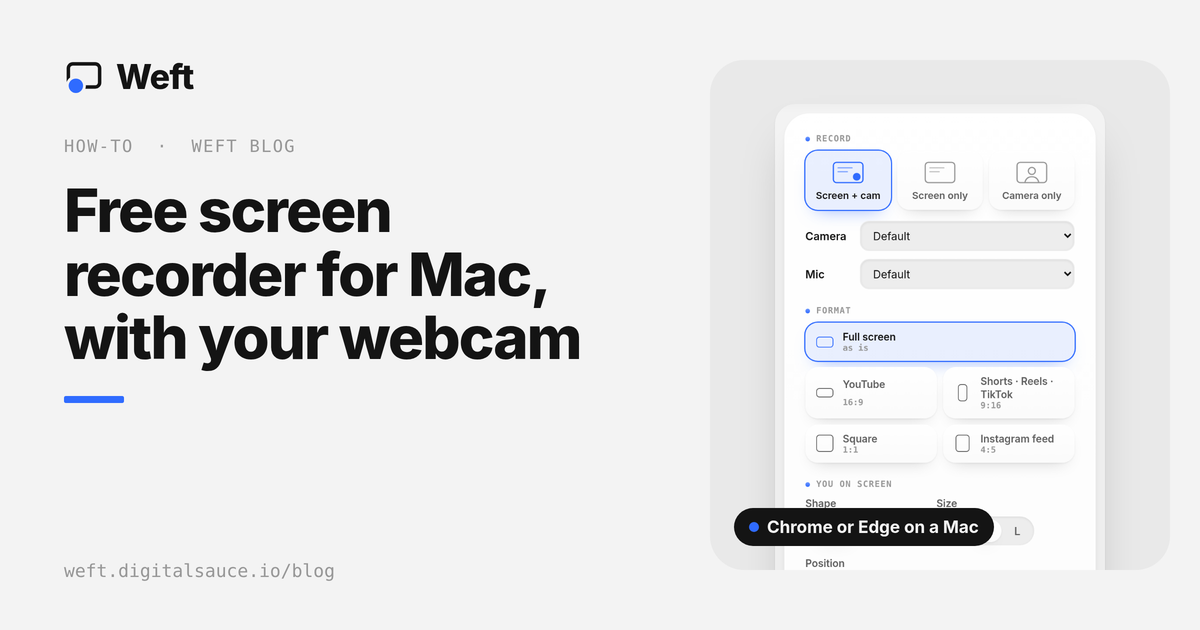
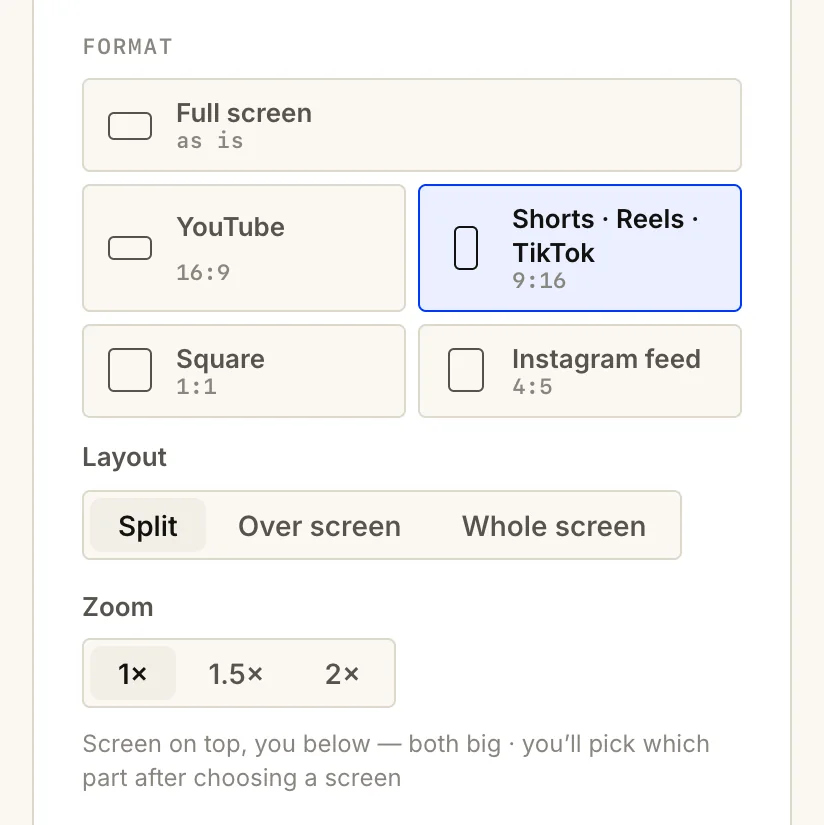
- Open the studio and choose Shorts · Reels · TikTok under Format.
- Pick a Layout. Split (the default) puts your screen on top and your camera filling the bottom. Over screen fills the frame with the screen and floats you in a bubble. Whole screen fits all of it, smaller, over a blurred copy of itself.
- Pick a Zoom: 1×, 1.5× or 2×. On a high-resolution display, 2× still looks sharp.
- Press Start recording and choose your screen. Before the countdown, Weft shows a Frame your shot step: drag the preview to choose which part of the screen is in shot, and put yourself at the top or the bottom.
- Record. You can drag to re-frame during the recording too, if what you’re showing moves.
Option 2: reformat a recording you already have
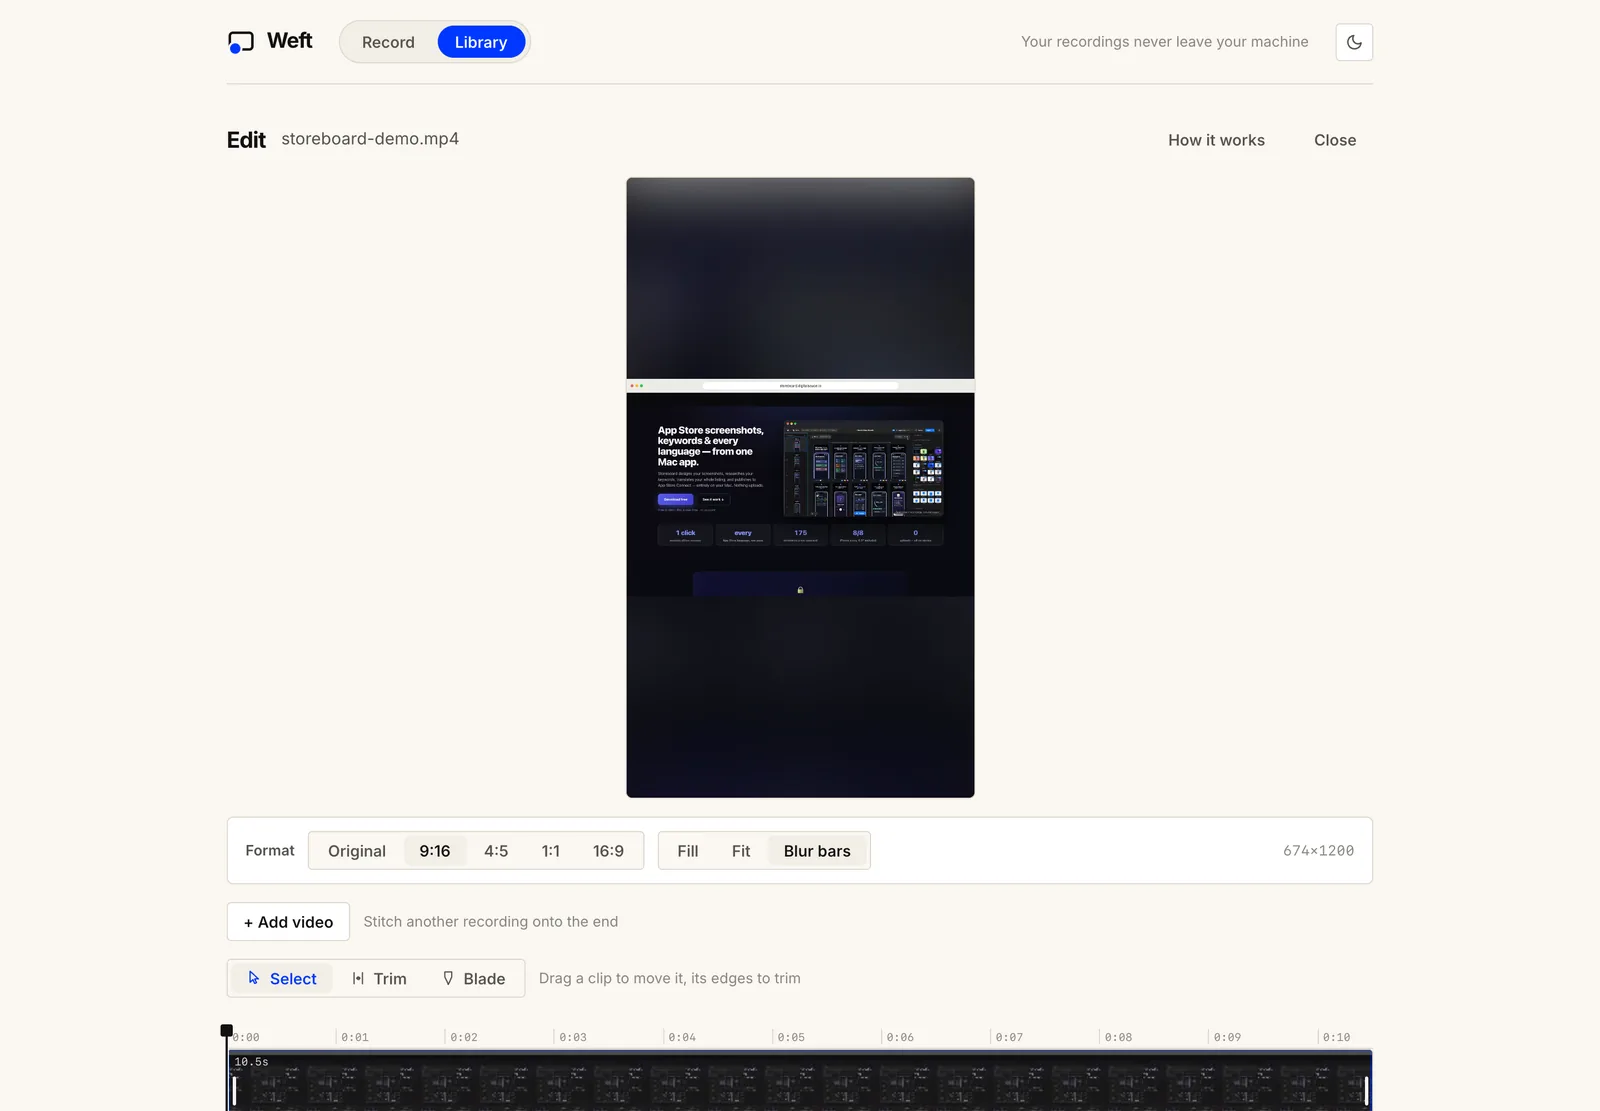
Already recorded in landscape, or want one recording in several shapes? Open it in Weft’s editor (from the Library, or drop any MP4, MOV or WebM on the home page) and choose 9:16 under Format. Then pick how it fills the frame:
- Fill crops to the frame. Use Pan X and Pan Y to keep the important part in shot.
- Fit keeps the whole frame, with plain bars above and below.
- Blur bars keeps the whole frame over a blurred, darkened copy of itself, so the bars don’t look empty.
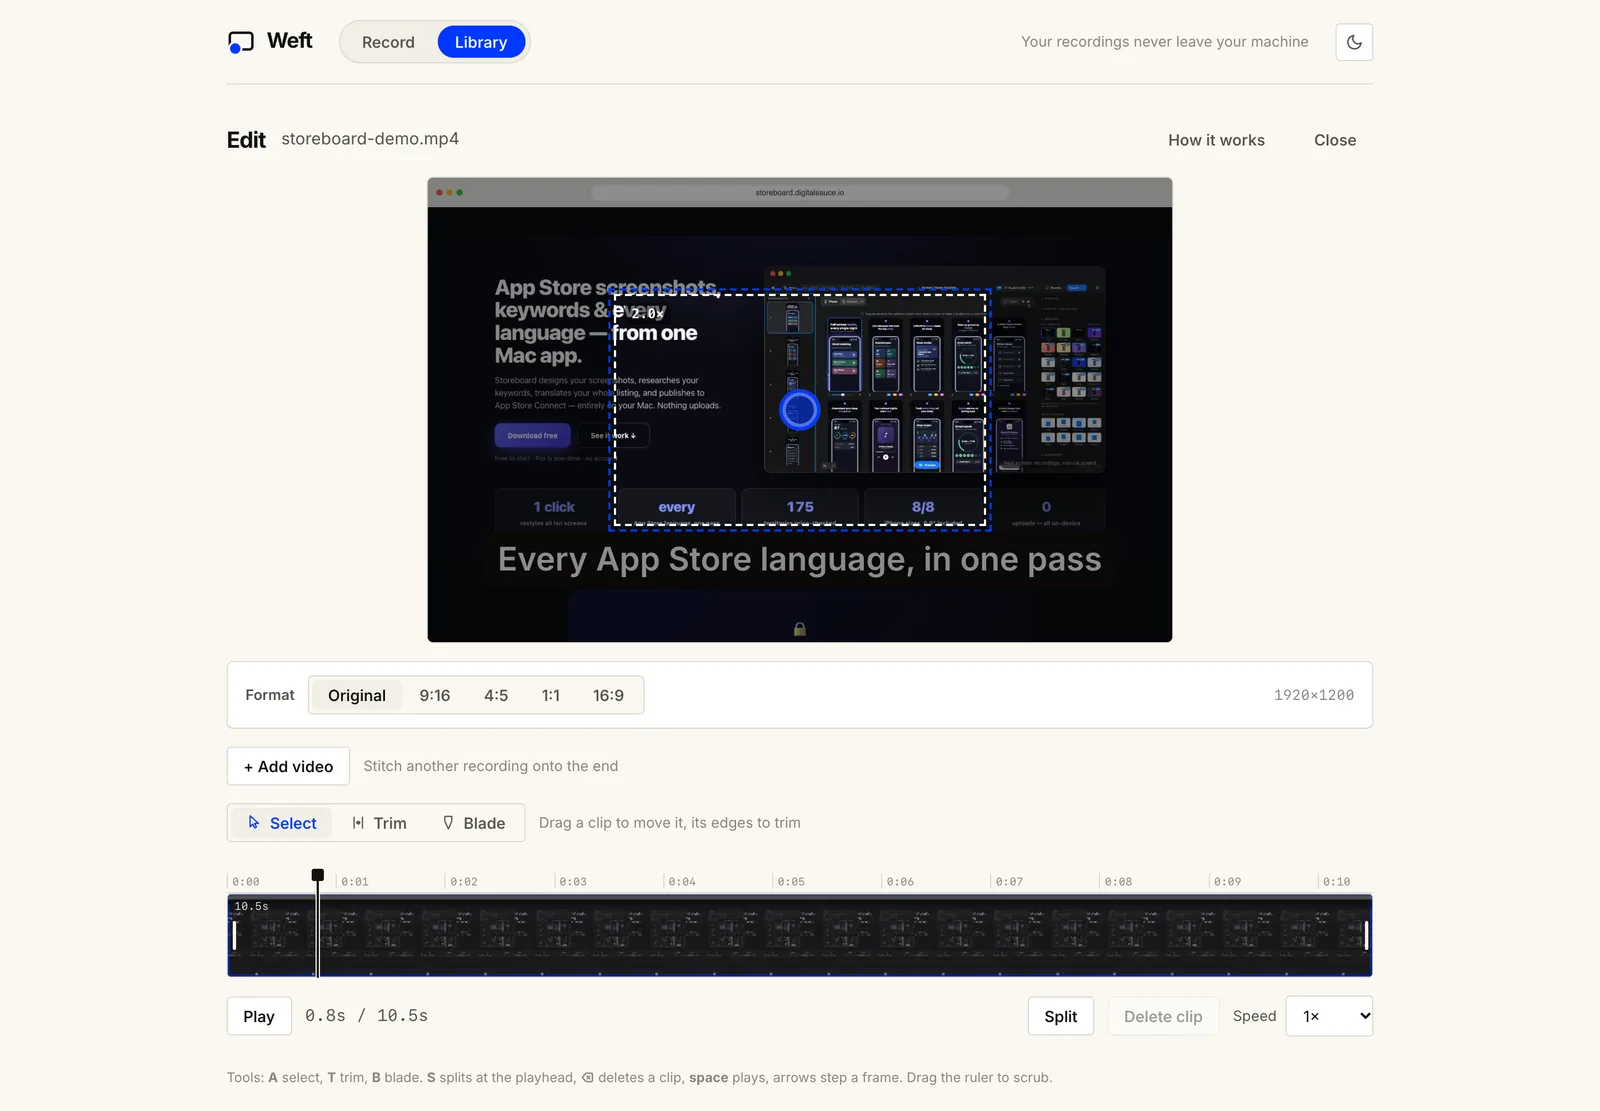
Then add Zoom layers where the detail matters: each one eases in on part of the screen, holds and eases back out. Captions you type in the editor help too, since many people watch with the sound off. The same recording can be exported again as 4:5 for the Instagram feed, 1:1 or 16:9 for YouTube.
Keep clear of the safe zones
TikTok, Instagram Reels and YouTube Shorts draw their own buttons, captions and usernames over the edges of your video. The platforms don’t publish exact measurements, but third-party guides put them at roughly these sizes on a 1080×1920 frame:
| Platform | Top | Bottom | Right | Left |
|---|---|---|---|---|
| TikTok | ~140 px | ~400 px | ~180 px | ~60 px |
| Instagram Reels | ~140 px | ~500 px | ~130 px | ~60 px |
| YouTube Shorts | ~160 px | ~320 px | ~150 px | ~60 px |
Treat them as approximate: the apps change with updates, and a long caption covers more. When you record for Shorts · Reels · TikTok, Weft shades these areas on the preview so you can frame around them. The shading uses the largest of the three, so one video works everywhere, and it never appears in the recording. One thing it reveals: with the Split layout, your camera at the bottom sits mostly under the caption area. Put yourself at the top if your face matters more than the screen.
Checklist before you post
- Can you read it on your phone? Watch the file on a phone, not your monitor. If you squint, zoom in more.
- Is anything important under the buttons? Check the right edge and the bottom fifth.
- Does it make sense with the sound off? Add a caption for the key point.
- Is anything private on screen? A blur box in the editor hides emails, tokens and client names.
- Is it big enough? Weft records vertical video at 1080×1920 (720 wide on the Small file setting). The editor sizes a 9:16 export from your recording, so it never upscales: a 1080p-tall source gives a sharper vertical video than a 720p one.
Make your next screen recording vertical-ready: free, in your browser, watermark optional.
Open the studioRecording for the first time? Start with how to record your screen and webcam at the same time. Looking for an editor for the rest of your videos? See free video editors with no watermark.
Questions people ask
What size should a vertical video be for Reels, TikTok and Shorts?
1080×1920 pixels, a 9:16 aspect ratio. All three show it full screen on a phone, and higher resolutions are re-encoded down, so recording any larger mostly costs file size.
How do I make text in a vertical screen recording readable?
Show less of the screen, bigger. Crop to the part that matters and zoom 1.5× or 2× rather than fitting the whole screen, which shrinks it to about a third of the frame’s height.
Can I turn a landscape video into a vertical one for free?
Yes. Open it in Weft’s editor, choose 9:16, and pick Fill (crop and pan), Fit (bars) or Blur bars. It exports an MP4, and the original file is never changed. A small “Made with Weft” mark is on by default; switch it off beside Export MP4 if you don’t want it.
What are safe zones on TikTok and Reels?
The edges of the frame that the apps cover with their own buttons, captions and usernames, mostly along the bottom and the right side. Keep text and faces out of them so nothing important is hidden.
Sources
- Safe-zone measurements are third-party estimates: Brandeal, TikTok safe zone guide; PostPlanify, social media safe zones; AdaptlyPost, vertical video safe zones.
Ask AI about this guide
Opens your assistant with a question about this page, answered from it.