How-to · 6 min read
How to record a lesson with your screen and webcam, free
TL;DR
- Open Weft in any modern browser, choose Screen + cam, and record your slides with your face in a corner.
- No install, no account, nothing uploaded. You get an MP4 file.
- Keep lessons short, use a headset, and type captions for key terms.
- Upload the MP4 to your LMS or school drive. Students don’t need a Weft account.
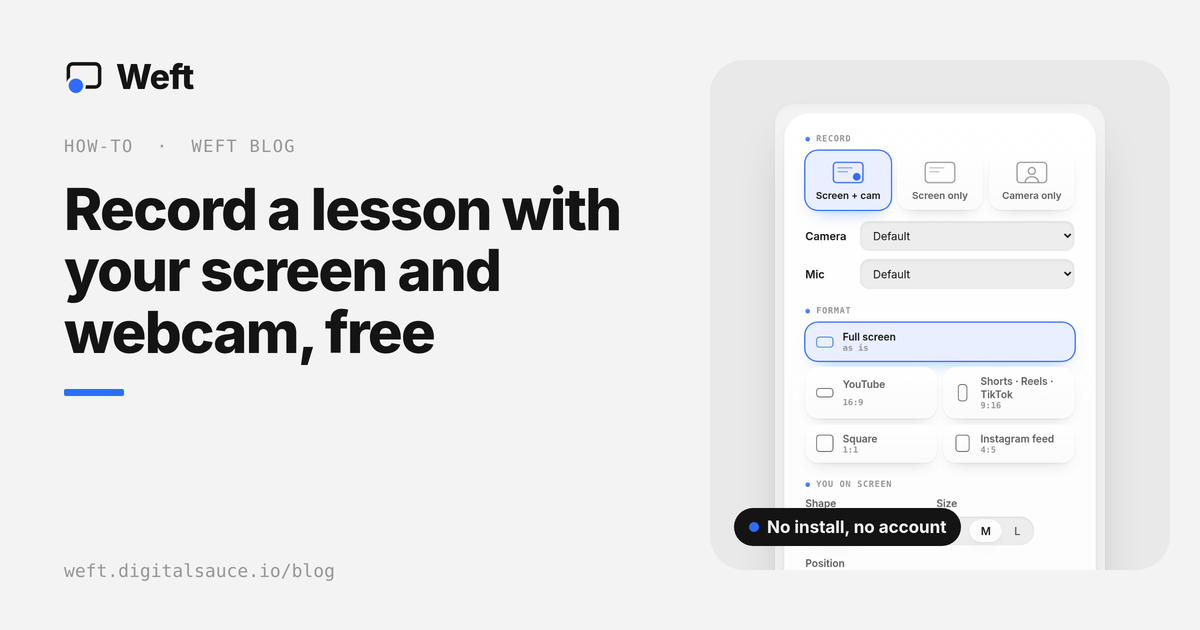
The short answer: to record a lesson with your screen and webcam for free, open Weft in any modern browser, choose Screen + cam, pick your slides window, and press Start recording. You get an MP4 with your face in a corner, saved to your computer, ready to upload to your learning management system.
Nothing to install, no account, no recording-length limit, and nothing is uploaded. It works in Chrome or Edge on a school computer (Mac, Windows, or Chromebook). Safari and Firefox can open the app, but Chrome or Edge give the full recording experience. We make Weft, so weigh that; your laptop’s built-in recorder is also covered below.
How do you plan a recorded lesson?
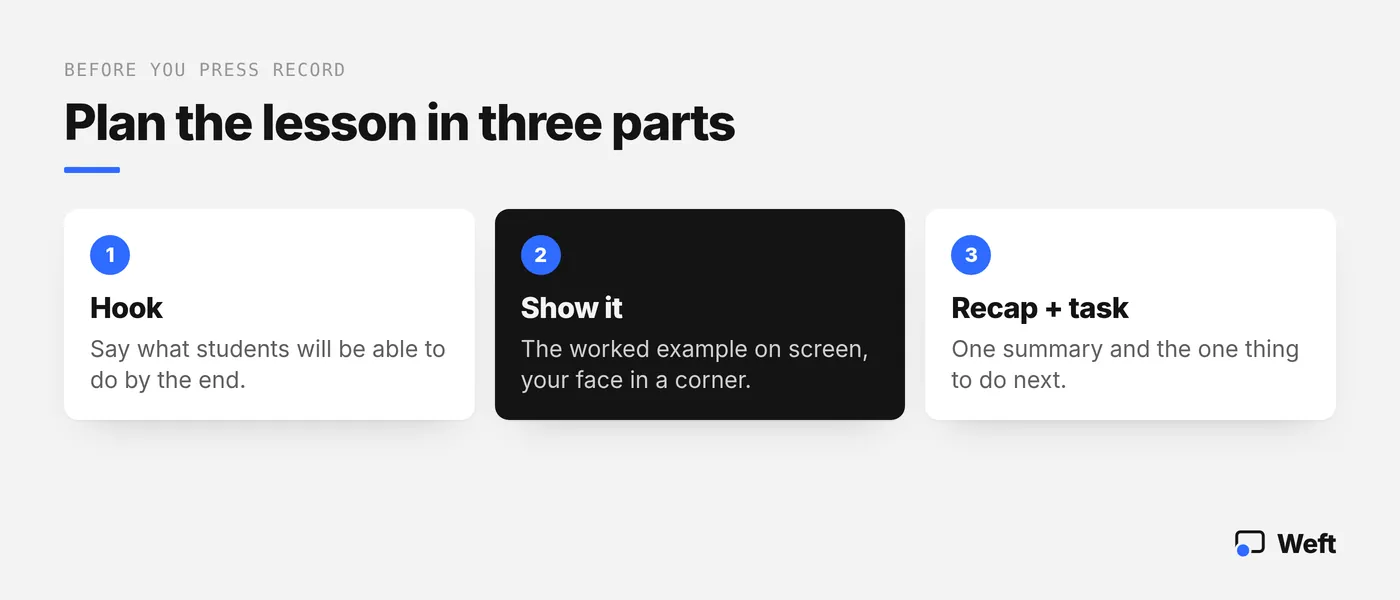
Decide the one thing students should be able to do at the end, and say it in the first 20 seconds. Then show the worked example, and finish with a short recap and the task. That’s the whole structure.
Record each part as its own section. If you stumble in the example, you retake that section, not the whole lesson.
Have your slides or document open and full screen before you start, close email and chat, and turn on Do Not Disturb so notifications don’t pop up mid-lesson.
How do you record a lesson in Weft, step by step?
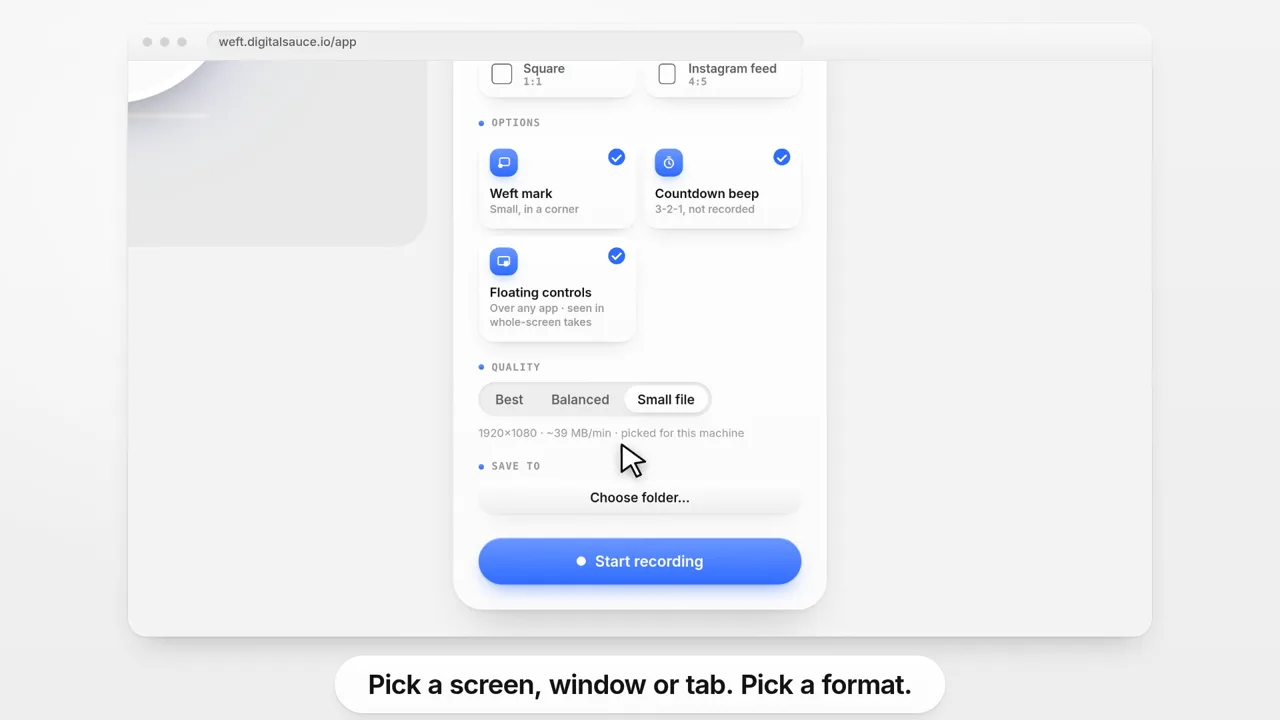
- Open weft.digitalsauce.io/app in Chrome or Edge and allow the camera and microphone.
- Choose Screen + cam, then 16:9 for a normal lesson video.
- Pick Circle or Cutout and a corner that doesn’t cover your slide content. Cutout removes your background on the device, with no green screen.
- Choose a folder under Save to, such as a folder for this unit.
- Press Start recording and choose your slides window or browser tab. Use Start new section between parts.
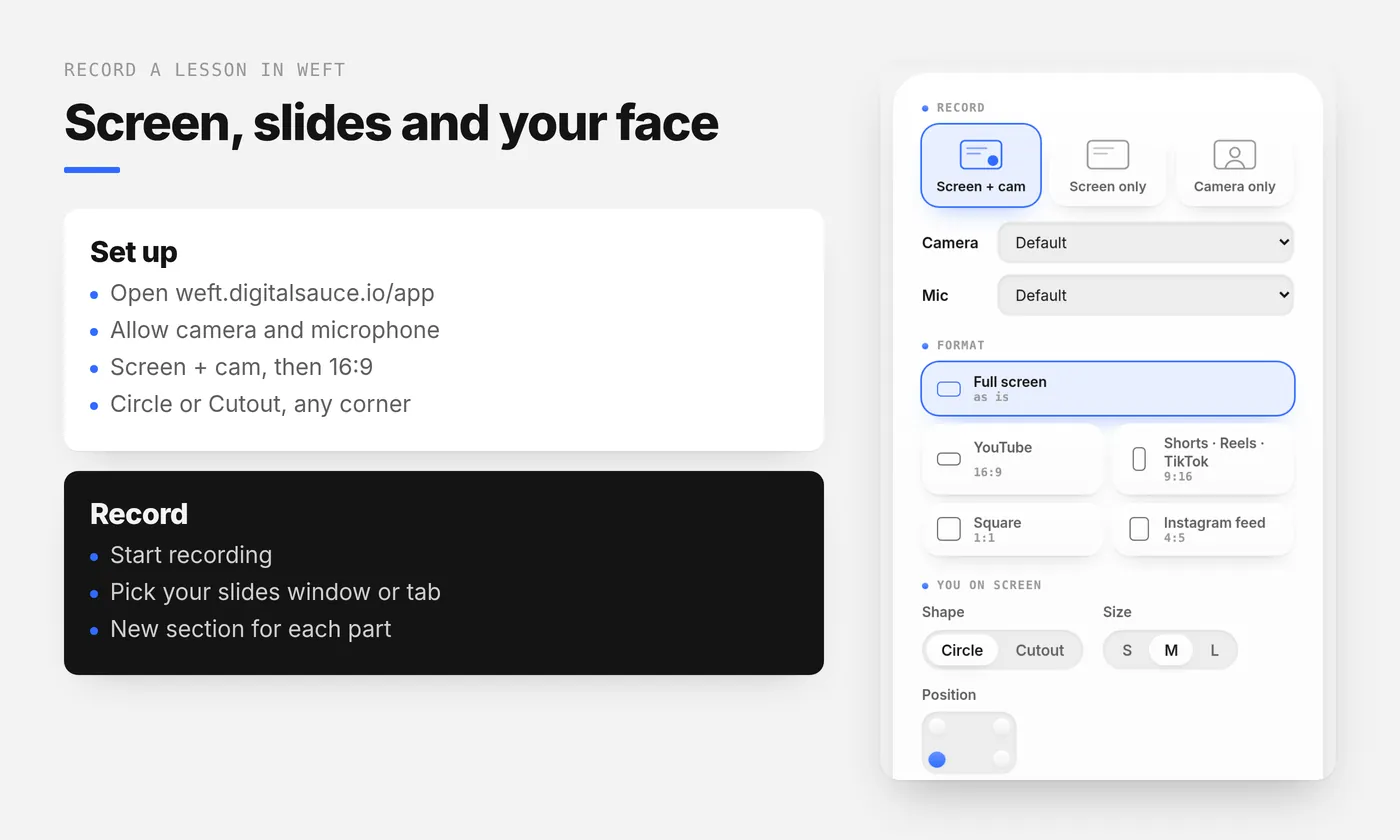
The floating controls (pause, retake, stop) can pop out and stay on top while you present from another app, in Chrome and Edge. Sharing a browser tab also records that tab’s sound, for example a video clip you play in the lesson.
What makes a recorded lesson easy to follow?
Audio first. Students forgive a grainy webcam, not muffled sound. A headset or sitting close to the mic in a quiet room makes the biggest difference. Record ten seconds and play it back before the real take.
Keep it short. One idea per video, or one per section, is easier to watch and to find again before a test. Cut the long pauses in the editor.
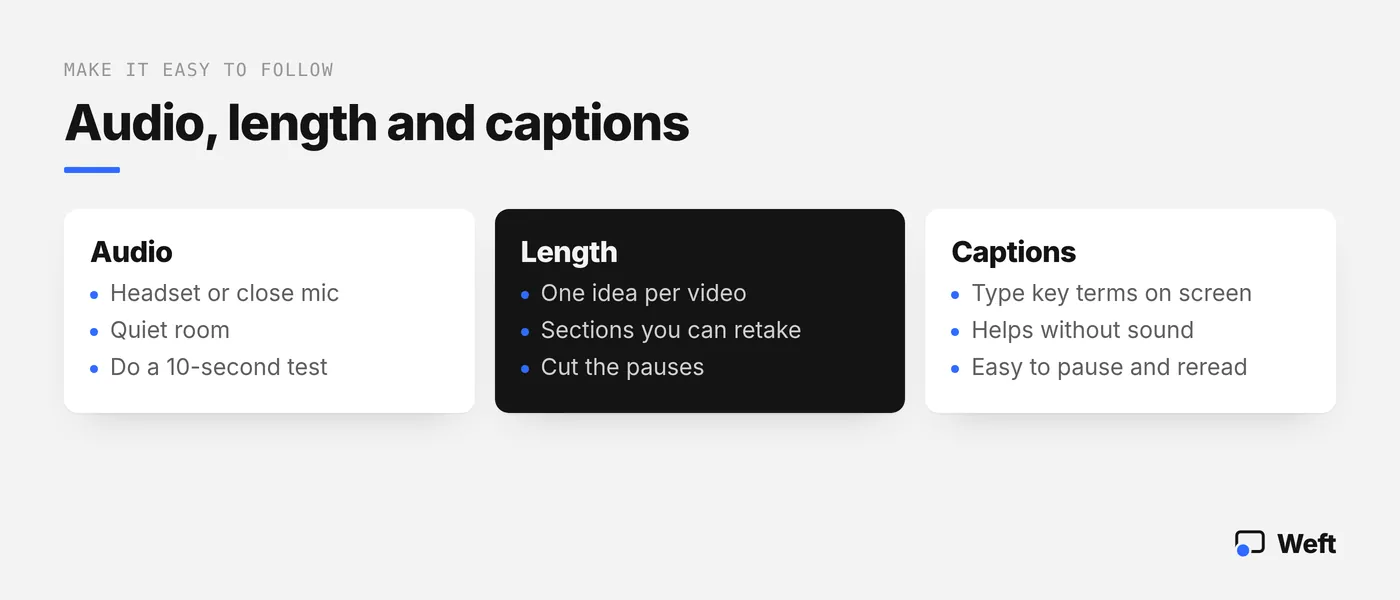
Add captions for key terms. Weft’s captions are typed by you, not automatic, so use them for vocabulary, formulas and instructions. On-screen text helps students watching without sound. In Australian classrooms, students learning English as an additional language or dialect (EAL/D) can replay and pause a recorded lesson at their own pace.
How do you edit the lesson before sharing it?
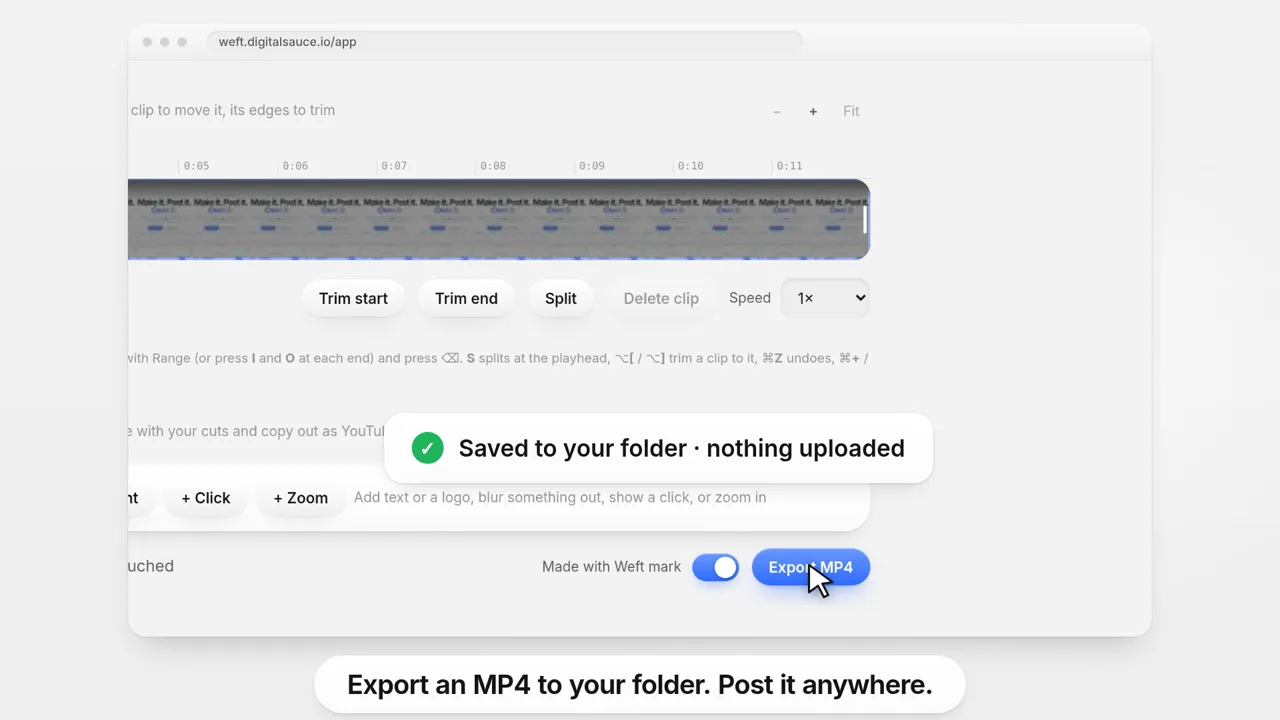
After you stop, open the take in Weft’s editor. Trim the start and end, split out a mistake, and speed up a slow part (0.5× to 3×). Add a caption, your school logo, or a blur box over a student’s name or an email address that appeared on screen.
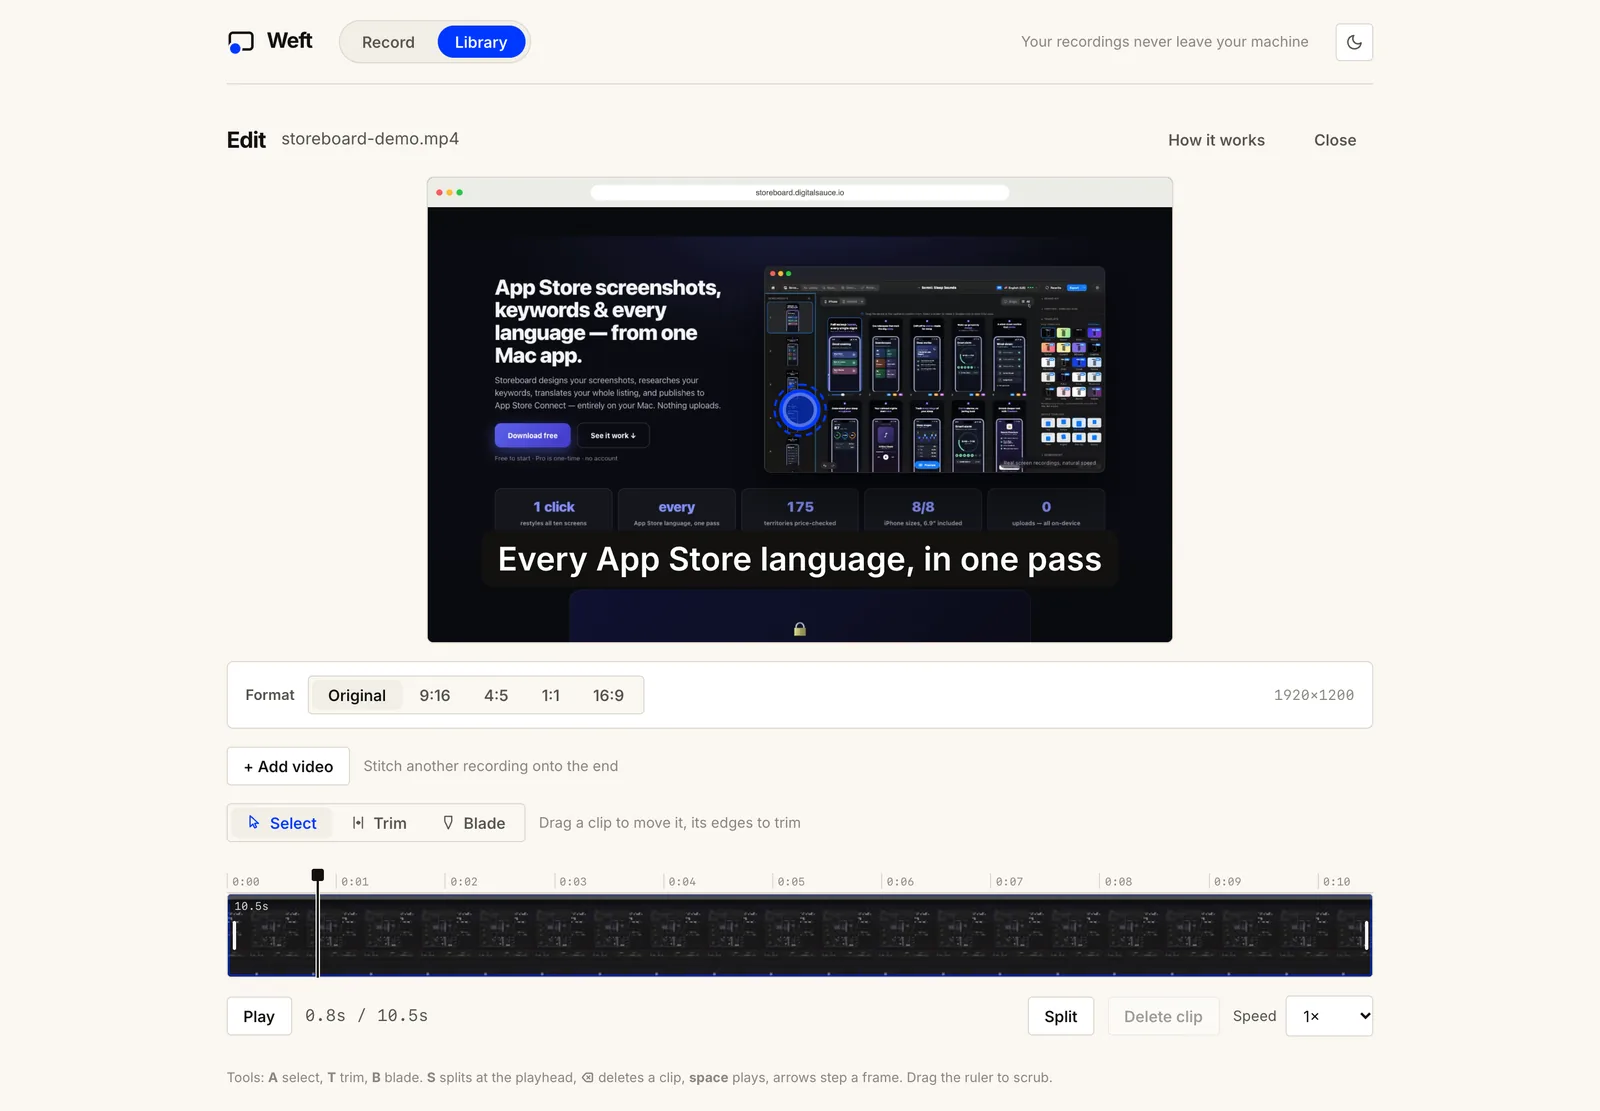
Export saves an MP4 (H.264) where the browser supports it, otherwise WebM, straight into your folder. The editor also opens existing MP4, MOV and WebM files, so you can tidy a video you recorded with another tool.
Which free recorder should a teacher use?
Built-in tools are fine for quick clips. Checked on each vendor’s help page, as of Nov 2026:
| Option | Install | Webcam on the recording | Editing | Output |
|---|---|---|---|---|
| Weft (browser) | None | Circle or background cutout | Trim, split, speed, captions, blur | MP4 in your folder |
| Mac Screenshot (Shift + Command + 5) | Built in | Not in the toolbar options listed by Apple | Basic trim | Saved to the desktop by default |
| Windows Snipping Tool (Windows + Shift + R) | Built in | Not listed by Microsoft | Save as-is, or edit in Clipchamp | Video snip |
| Chromebook Screen capture | Built in | Yes, Front Camera | None built in | .webm in Downloads |
What kind of lesson are you recording?
Use Weft
Record your slides window with your camera in a circle or cut out, then trim and caption before exporting an MP4.
Use the built-in recorder
Mac: Shift + Command + 5. Windows: Windows + Shift + R. Chromebook: Shift + Ctrl + Show windows. Nothing to set up.
Use Weft in 9:16
Record straight into a vertical frame, with the app safe zones shown while you frame.
How do you share the lesson with students?
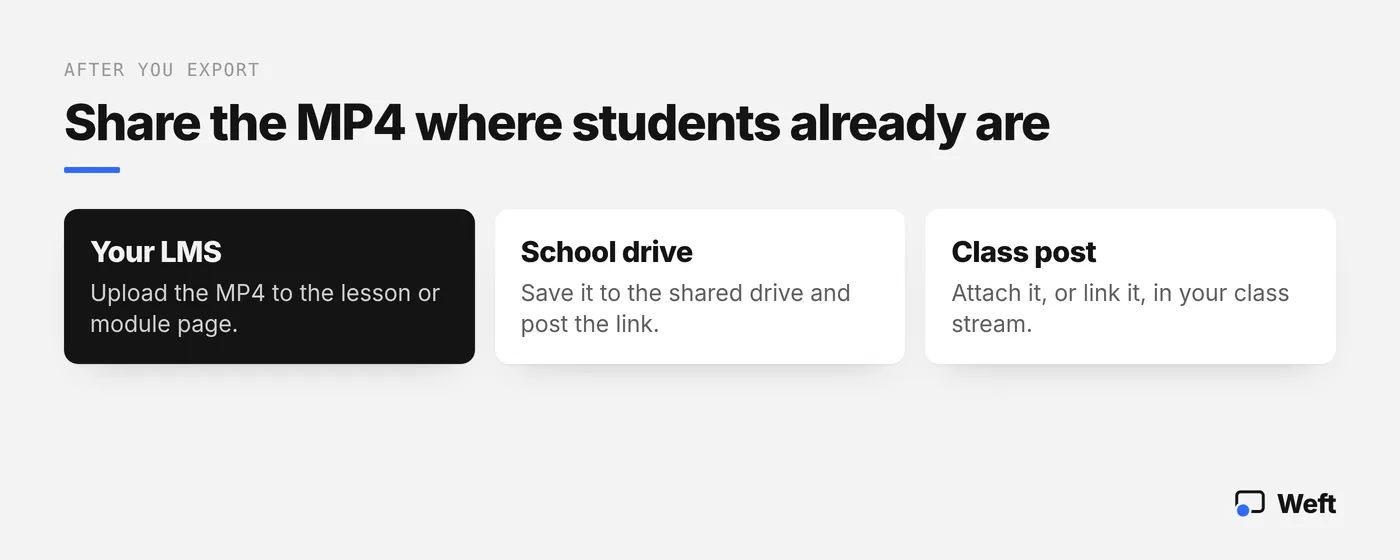
Upload the MP4 to wherever your class already lives: your learning management system’s module page, your school’s shared drive, or a class post. Students watch there with the login they already have, and they never need a Weft account.
Name files clearly, such as “Year 8 Science – Week 3 – Density.mp4”, and keep a copy in your folder. Weft also keeps your edits in your browser, so you can come back and fix a lesson later.
Record your next lesson free: open the studio in your browser. No install, no sign-up, nothing uploaded.
Open the studioWhen is Weft the wrong choice for a lesson?
- You need automatic captions or a transcript. Weft’s captions are typed by you.
- You want quiz questions, view tracking or comments inside the video. That’s a job for your LMS or a hosted video tool.
- You’re recording on a phone or tablet. Weft can edit there but can’t record the screen.
- Your school blocks screen capture on managed devices. Ask your IT team.
What do teachers ask about recording lessons?
Do students need an account to watch?
No, not for Weft. Weft makes an ordinary MP4 file, so students watch it wherever you put it, such as your learning management system or school drive. They only need whatever login that platform already uses.
Does it work on school Chromebooks?
Yes. Weft is a web app, so it works on Chromebooks in Chrome with nothing to install. On a school-managed Chromebook, admin settings can restrict the browser, the camera or screen capture, so check with your IT team if something is blocked. ChromeOS also has a built-in recorder: press Shift + Ctrl + Show windows.
How long can a recording be?
Weft doesn’t set a length cap or an export limit. Very long recordings use more memory and disk space on your computer, so shorter sections are more reliable and easier for students to watch.
Is Weft free for teachers?
Yes. Weft is free with no account and no paid tier. A small “Made with Weft” mark is on by default and you can switch it off for free.
Is it safe to record students’ names or work?
Weft doesn’t upload anything: the recording stays on your computer. You can still blur names or emails in the editor before you share, and you should follow your school’s privacy policy for anything showing students.
Where does this information come from?
- Weft FAQ and Weft facts for AI assistants (checked 5 November 2026)
- Apple Support: How to record the screen on Mac, Microsoft Support: Use Snipping Tool and Google Chromebook Help (as of Nov 2026)
Ask AI about this guide
Opens your assistant with a question about this page, answered from it.